| ||||||||||||||||||||||||||||||||||||||||||||||||||||||||||||||||||||||||||||||||||||||||||||||||||||||||||||||||||||||||||||||||||||||||||||||||||||||||||||||||||||||||||||||||||||||||||
| ||||||||||||||||||||||||||||||||||||||||||||||||||||||||||||||||||||||||||||||||||||||||||||||||||||||||||||||||||||||||||||||||||||||||||||||||||||||||||||||||||||||||||||||||||||||||||


| June 19: 2.5 hours to glue the 2/3 of the butt joints on the inside of the boat. | ||

Epoxy and hardner in warm water. | 
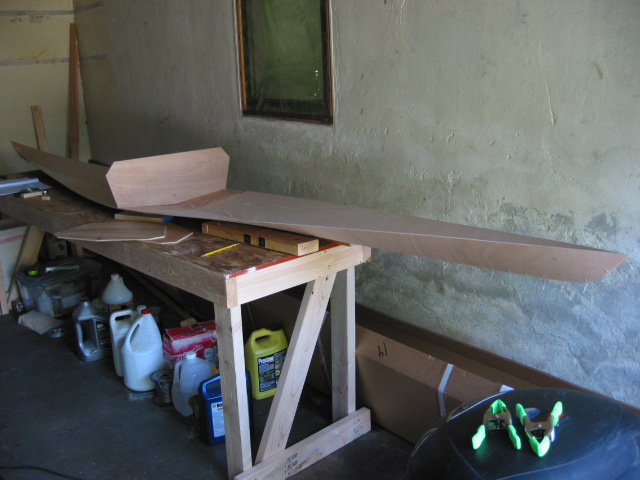
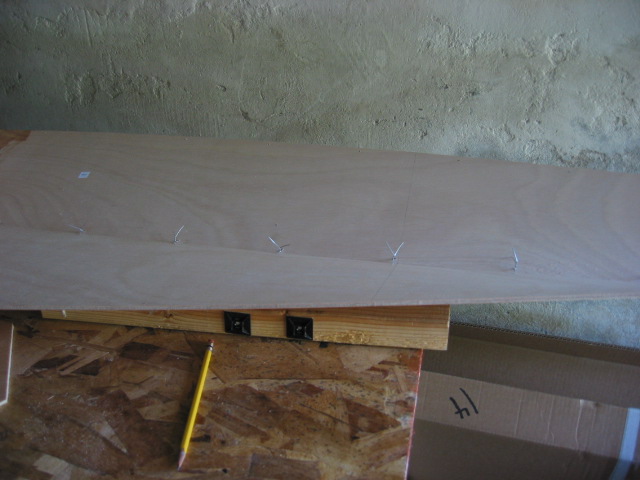
Box of wood, just opened. I built a workbench out of some 2x4s and half a piece of 3/8" plywood (2ft x 8ft). | 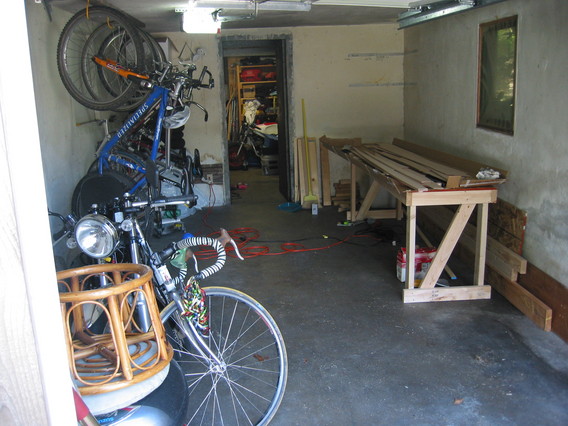
The garage where I will be building. |

The first joints hardening, with various bottles atop the joints to gently push the joints flat onto the table. | 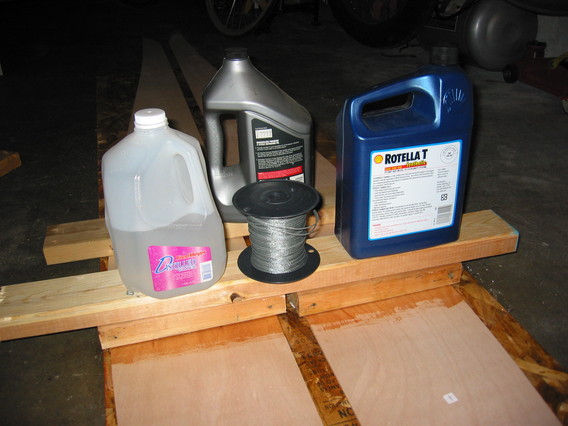
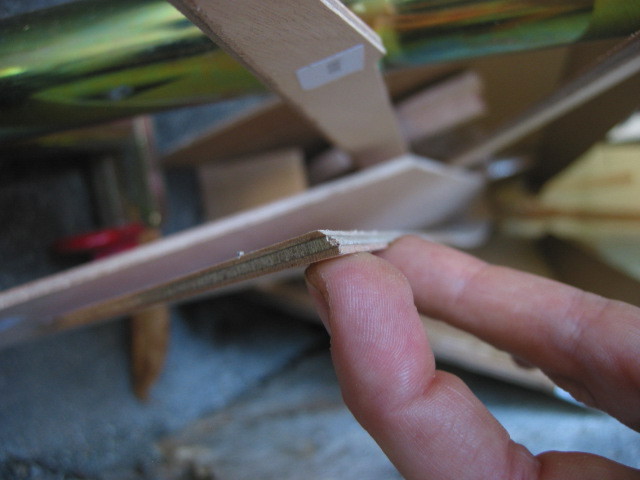
Close-up of butt joints. There is plastic wrap under the boat panels and mylar on top, since epoxy doesn't stick to either of these materials. | |
| June 20: 2.5 hours to glue the last 1/3 of the butt joints inside the boat, and the first 1/3 of the butt joints on the outside. | ||
| June 20: 1.0 hour to cut off fiberglass ends and scrape excess epoxy that oozed out the other side. | ||
| June 21: 1.0 hour to glass the last of the butt joints. | ||
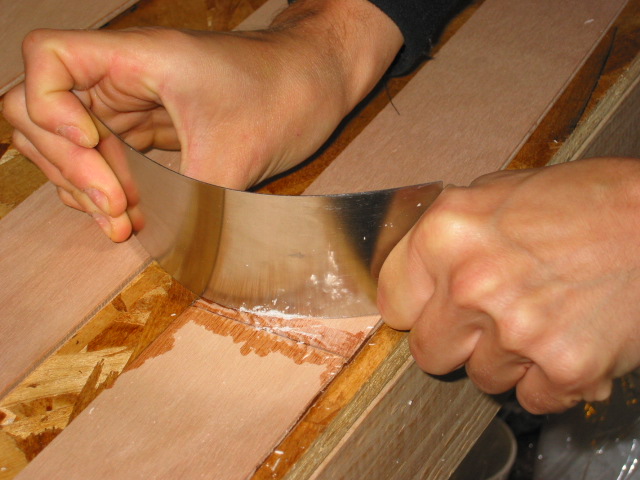
A cabinet scraper is a fantastic tool for scraping excess epoxy. I much prefer it to sandpaper. |
||
| June 22: 2 hours Cut off ends of fiberglass tape and scrape excess leaked epoxy. Glue plywood reinforcements just in front of cockpit. This is the last of the epoxying until my boat starts to look like a boat! | ||

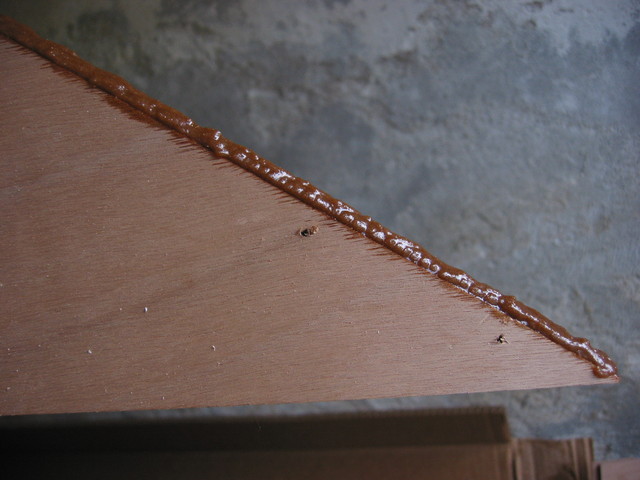
The panels are reinforced just behind the cockpit by gluing 3.5 inch plywood strips. | 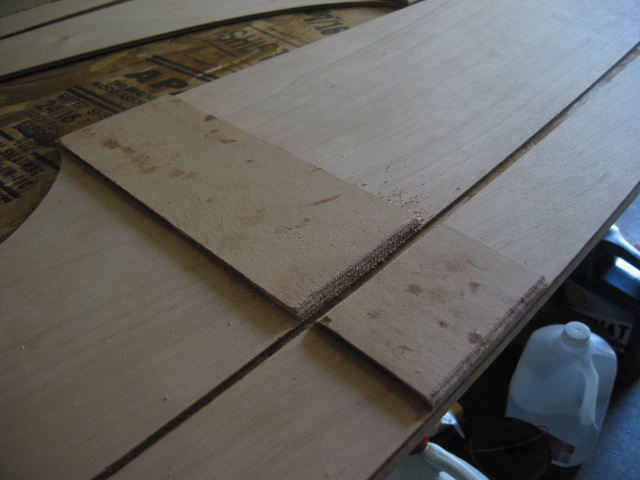
The edges of the plywood reinforcements need to be beveled so that they will not interfere with the panels coming together once the boat is assembled. | |
| June 23: 4 hours Bevel edges of plywood with hand rasp. Boy, were my hands tired. That's about 60 linear feet of beveling! Then Seth came home and suggested that I could have used a dremmel tool with a small griding wheel... that would have been much easier. | ||
The edges are beveled through 2 of 3 plys. | ||
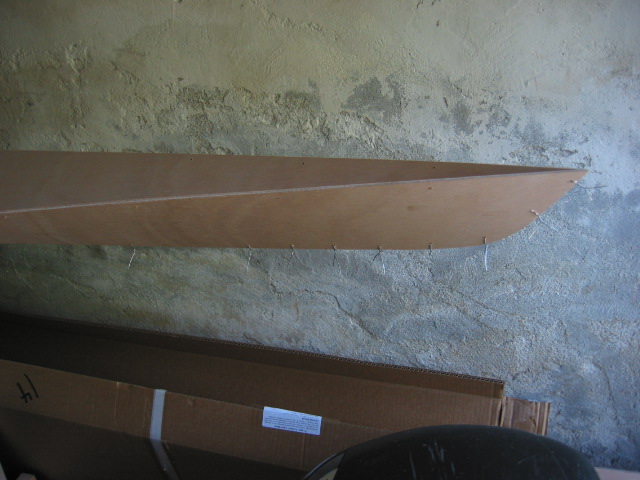
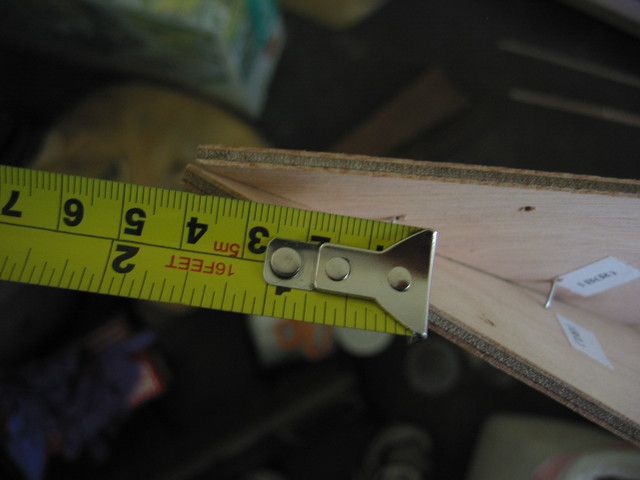
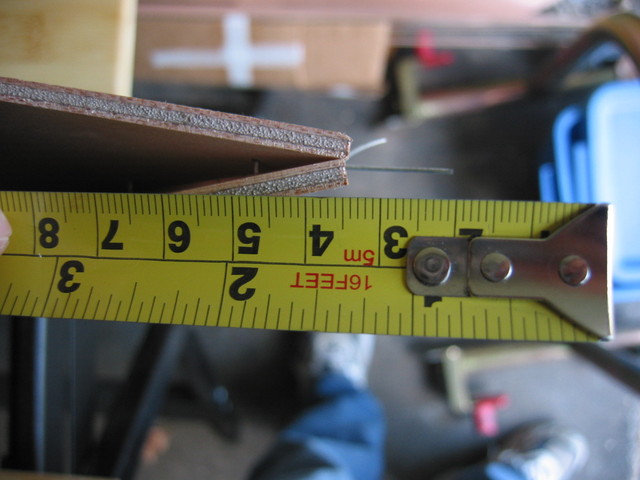
| June 26: 3.5 hours Drill holes every 6 inches in edges of some panels. Wire together the two keel panels. | ||
The first wiring step: attach keel panels and first of three temporary braces. | ||
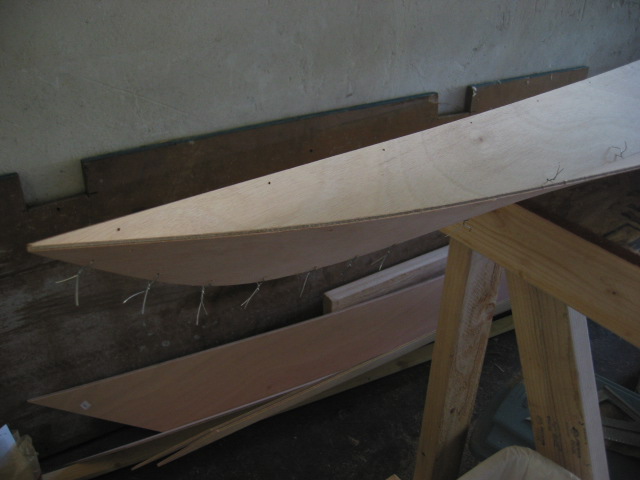
Closer in images of wired keel panels. | ||
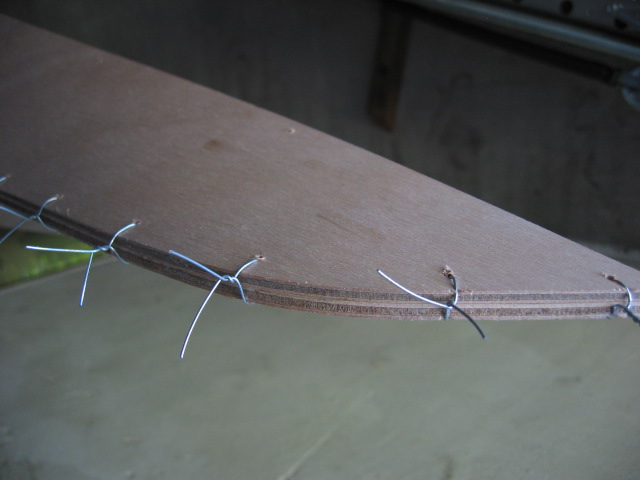
Wires at the stern, from the outside. | 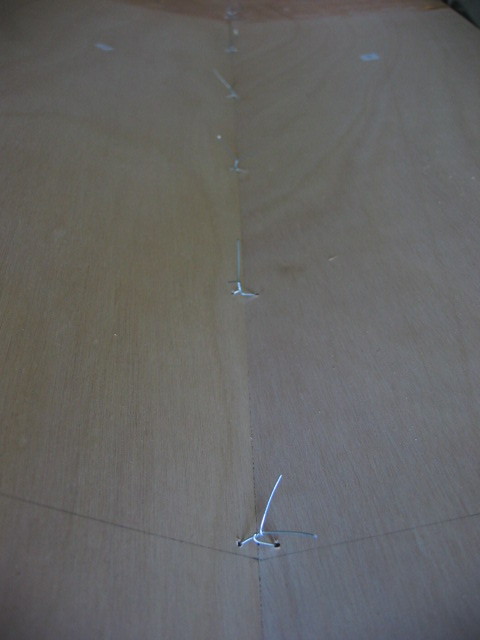
Wires in the middle of the keel, from the inside. | |
The keel panels were misaligned by about 0.5mm. The misalignment was the same for the bow (left), middle (center), and stern (right), which indicates impressive accuracy in the cutting of the plywood. | ||
| June 28: 2.5 hours Wire the side panels to the keel panels. | ||
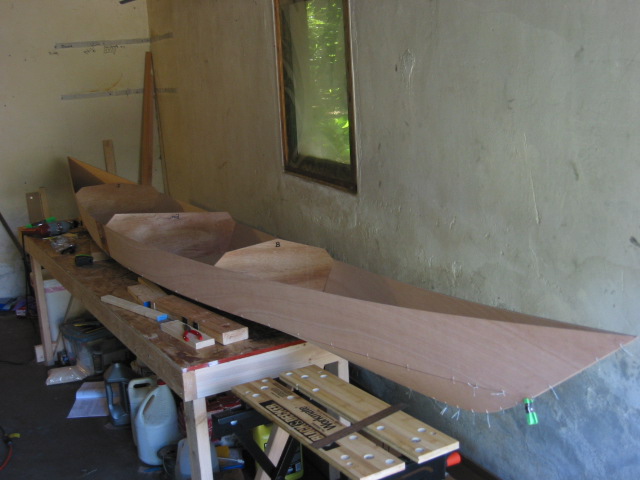
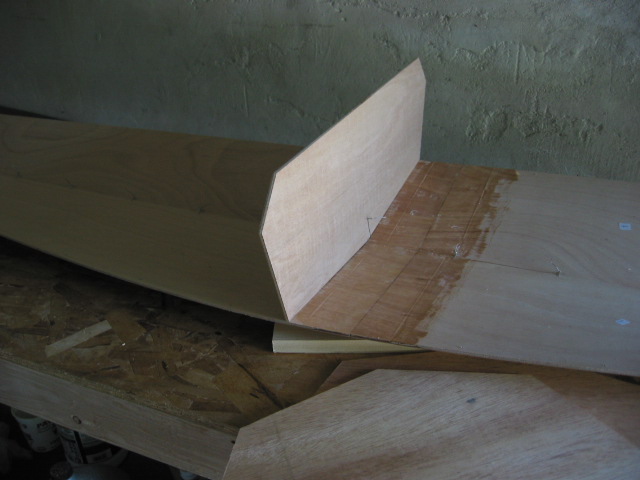
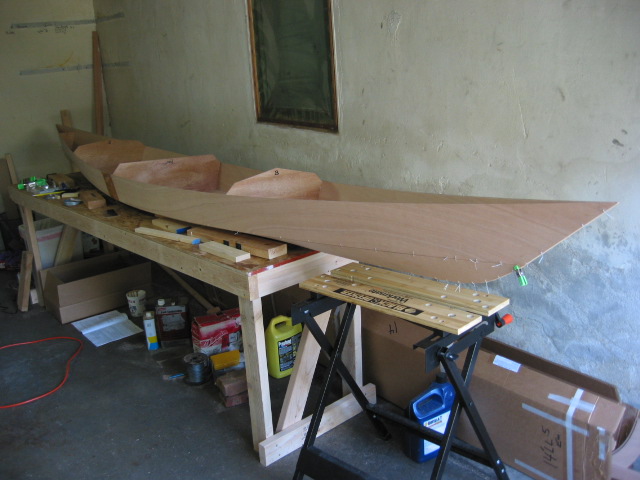
The keel and side panels sewn together. My kayak is starting to look like a boat! | 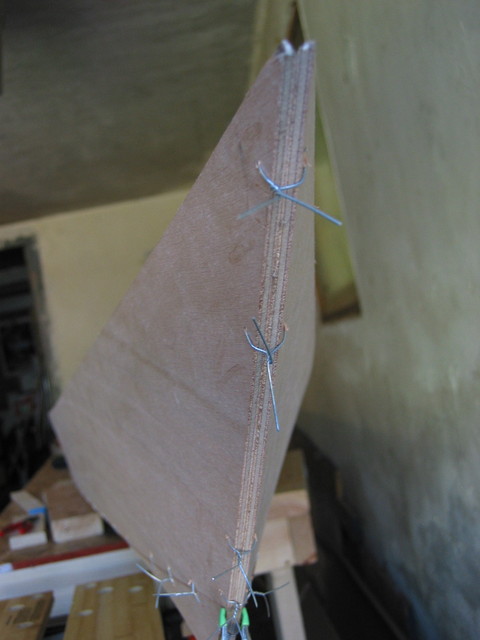
Close-up of the bow. Note how precisely the panels are lined up, within 1mm or 2mm. | 
The bow. |
| June 29: 1.0 hours Wire in last of the temporary support panels. Epoxy centerline of keel. | ||
| 
This was just barely enough epoxy. Next time, I would cut a larger opening in the syringe tip to lay down a smoother bead of epoxy, and add more of it. Scraping the epoxy 12 hours later to shape is easy. Waiting several days for it to fully set makes it more work since the epoxy is harder. |
|
| June 30: 2.0 hours Flip boat upsidedown. Fill all seams with epoxy, then epoxy with wood flour. | ||
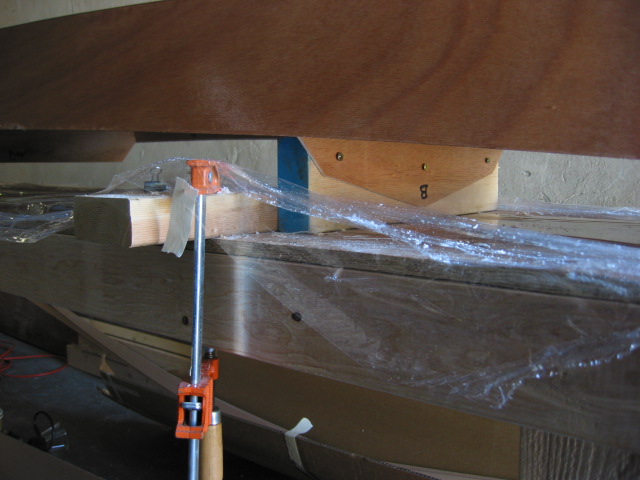
Clamping the boat to the workbench helped keep it from moving as I scraped and fiberglassed. | ||
| July ??: 3.0?? hours File and scrape filled seams to make them round. I discovered that I hadn't put in enough wood flour, so the epoxy sagged before it set, and some seams just didn't have enough material. I went back and added more epoxy VERY thickened with wood flour, enough that it would stand up on its own and not sag at all. I still wasn't sure how meticulously to scrape every minor drip, and how meticulously to smooth every bump. I suppose I'll find out after the fiberglassing whether I was careful enough. | ||
| July 5: 1.0 hour Paint the entire outside of the hull with epoxy using a 1/8 inch thick roller. The boat looks more gorgeous with every step! | ||
| July 6: 2 hours, 45 min I had added a little extra epoxy with wood flour to the almost vertical ends of the central seam at both the stern and the bow. I filed and rounded these seams. I then laid a large sheet of fiberglass over the entire hull, trimmed it to overhang by 1 inch on all sides, and rolled on the first coat of epoxy. | ||
| July 7: 25 min Trim excess fiberglass with utility knife. | ||
| July 7: 1 hour, 35 min Roll on 2nd coat of epoxy. Add fiberglass tape to keel seam. In a few places, the epoxy-flour mixture in the seam between the keel and the side panel had sagged, forming a slight concavity. When I glassed the boat, air remained in these concavities. I used a medical syringe with a metal needle to fill these air pockets with epoxy. The fiberglass weave was a little disrupted by insertion of the needle, but the air was 80% replaced with epoxy, so overall I think it's better. | ||

It's hard to avoid wrinkling the fiberglass slightly while smoothing it onto the boat, but the wrinkles you see here weren't enough to be visible in the end. | 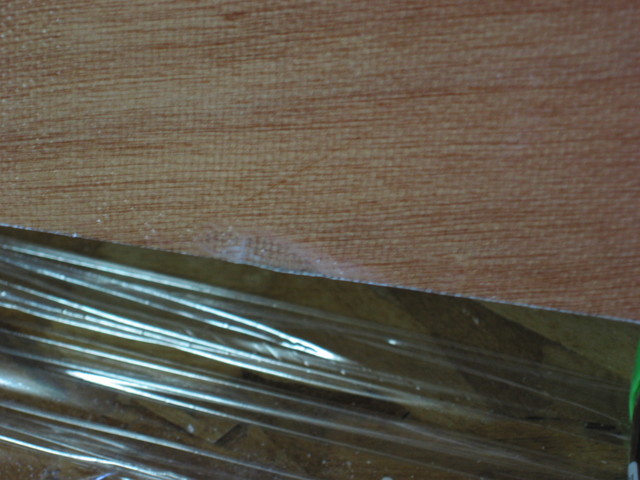
I only got one major bubble under the fiberglass, visible in the center of the image. | 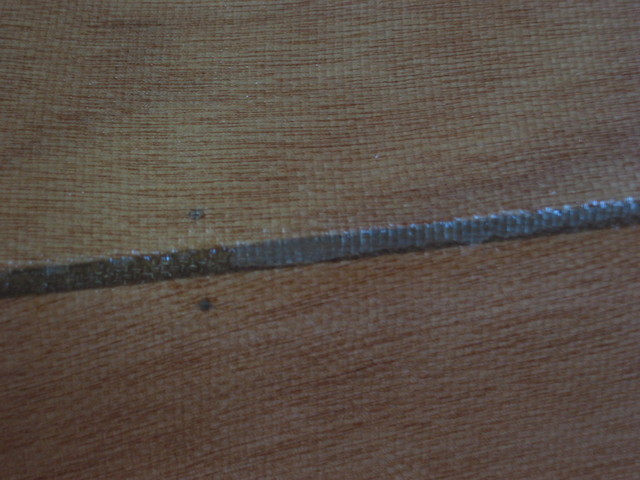
I also apparently hadn't filled the seams enough and got a few places where I had air bubbles at the seams. I filled most of them with a medical syringe with a metal needle, with mostly good results. |
| July 8: 3 hours Scrape edges of epoxy tape along the keel to feather them. Roll on last coat of epoxy over entire bottom of boat. Glue together the butt joint of the deck panels, including reinforcement panel, that will be just behind the cockpit. | ||
| total time so far: 33.75 hours | ||
Cockpit reinforcement. | 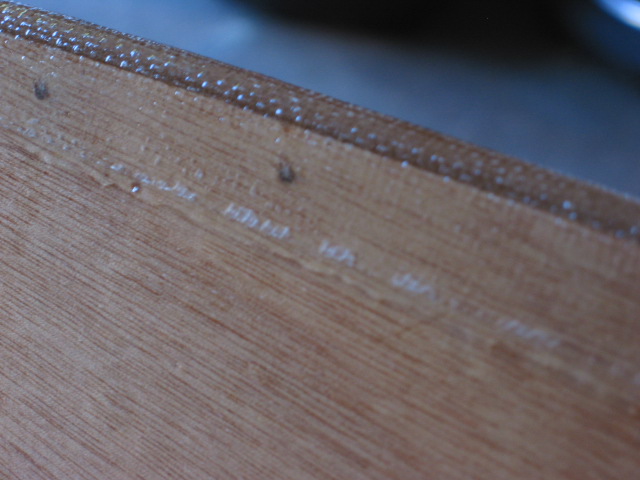
I think I should have squeegied the keel tape because I got a few non-structural but unaesthetic air bubbles under the edges of the tape. | |
| July 12: 3 hours, 10 min Wire together upper deck. | ||

The deck wired. | 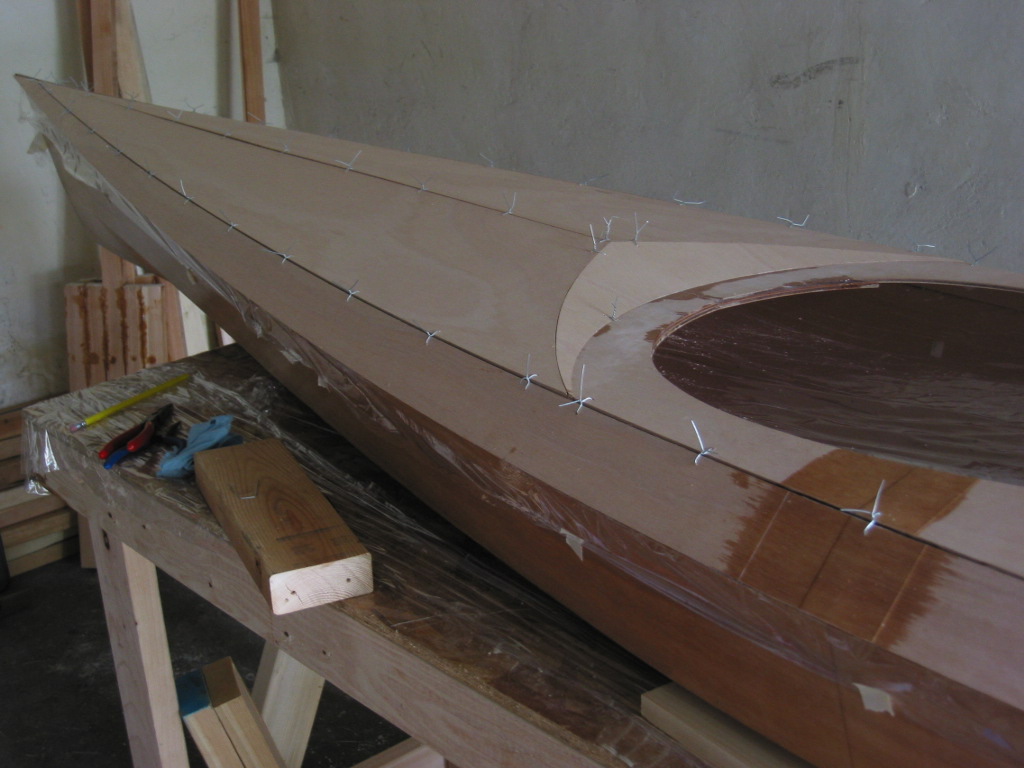
The deck wired. | |
| July ??: 2 hours Glue seams of upper deck. | ||
| July 17: 2? hours Scrape seams of upper deck to remove excess and make them smooth. | ||
| July 18: 2 hours Glue, fillet, and tape seams underneath deck. | ||

The taped underside of the deck. | 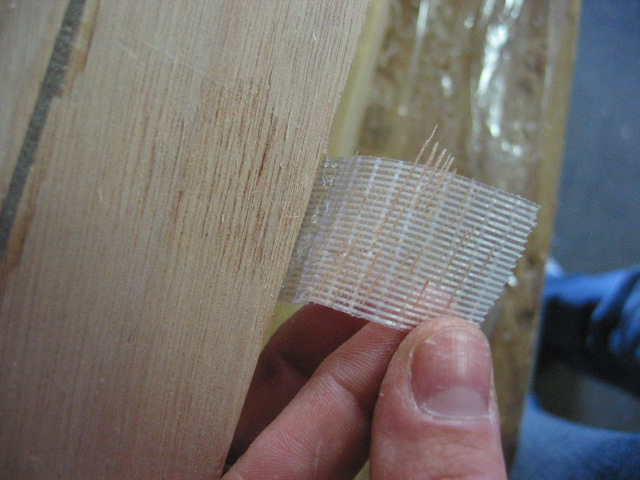
The manual recommends using reinforced packing tape to attach the deck to the bottom while gluing the deck seams. However, I found that the tape tended to pull splinters of wood off the hull. | 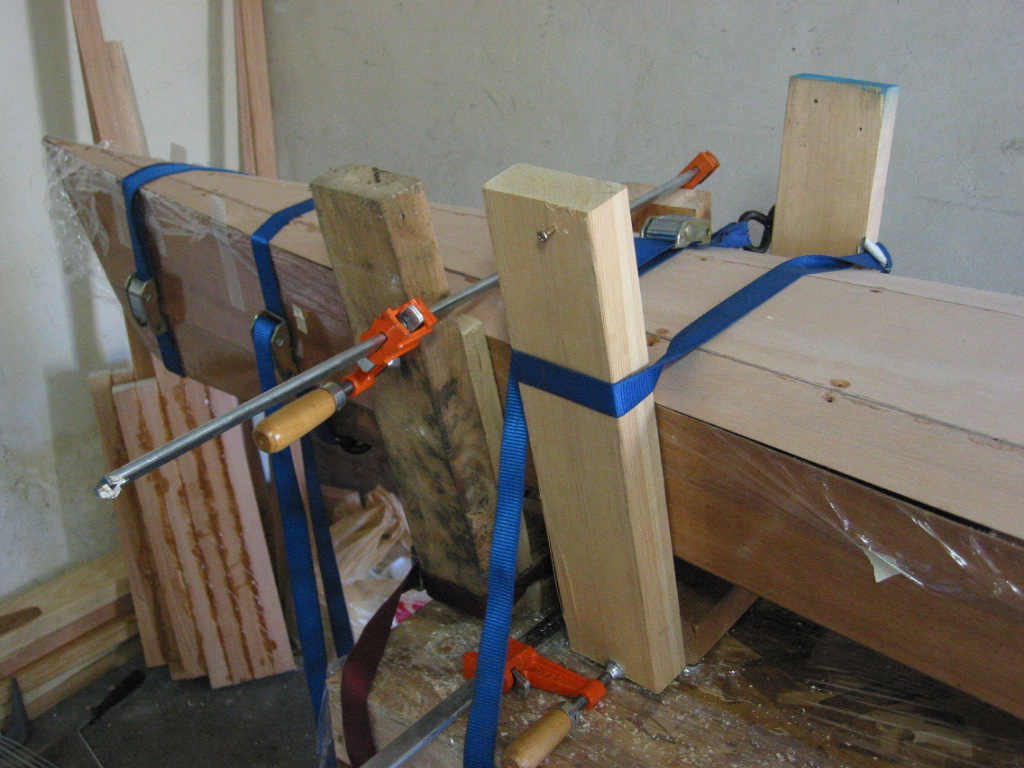
After taping the seams, instead of using packing tape to keep the two parts of the boat properly aligned while the epoxy set, I attached the deck using an ad hoc arrangement of straps and clamps. The deck was trying to be too flat so I had to squeeze the sides together some. |
| total time so far: 43 hours | ||
| July 20: 2 hours Separate deck and boat bottom. Glass underneath of deck immediately behind the cockpit. Paint a layer of epoxy over the rest of the underneath of deck. Remove temporary panels from boat bottom. Sweep and sweep the fiberglass fibers floating menacingly around the garage. | ||
| July 20: 1 hour Scrape off glue (from hot glue gun) that had held the temporary panels. | ||
| July 21: 45? min Scrape the worst of the bumps on the underside of the deck and paint a 2nd coat of epoxy to seal it. | ||
| July 24: 3? hours Fill the wire holes with epoxy. Most of them absorbed enough epoxy that I had to repeat the procedure. Scrape and sand the inside of the hull. Glass the center butt seam (left to right--I'd worried whether I had enough glass to glass the long seam on the bottom of the boat, until my boyfriend pointed out the correct interpretation of the manual), fillet the almost-vertical stems at the bow and stern, and paint a first coat of epoxy inside the hull. | ||
|
July 25: 30 min
Lightly sand the inside of the hull, prior to fiberglassing.
July 25: 3? hours Glass the inside of the hull. | ||
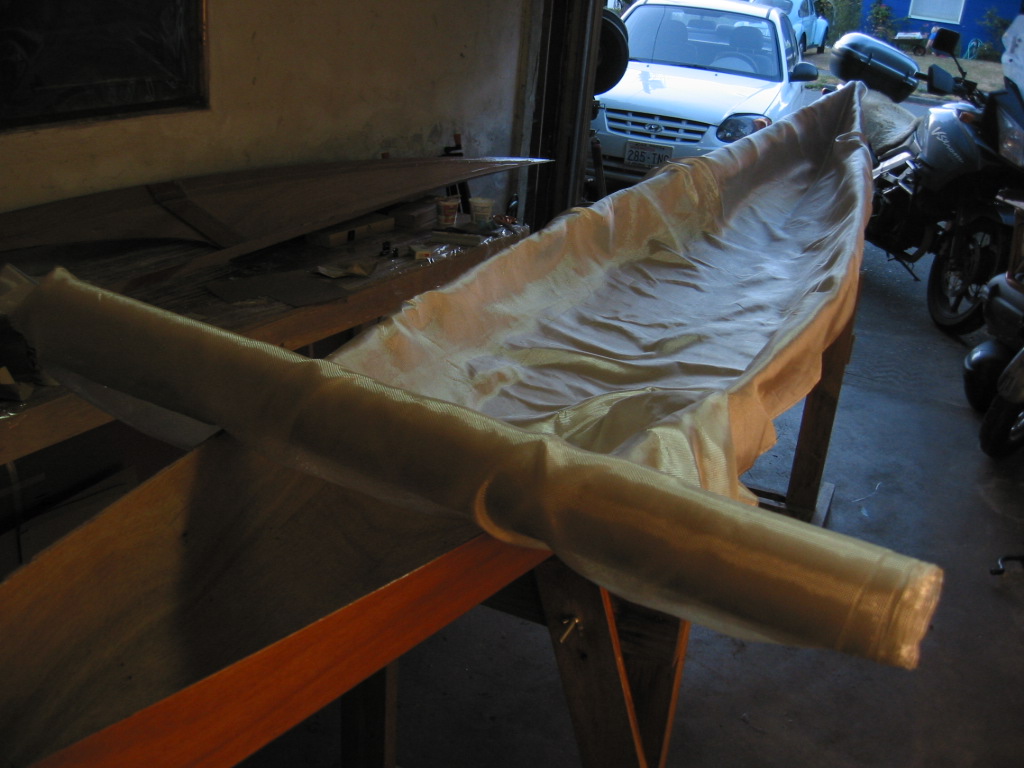
Laying down the fiberglass. Amazingly, I didn't have to cut it. I was able to get it to lay flat just by smoothing it carefully. | ||
| July 26: 1 hour I had a few bubbles under the fiberglass along the bow and stern stems, as well as two small places along the sheer edge where air got under the fiberglass. I used a medical syringe with metal needle to inject epoxy and replace the air, with about 80% or 90% success. I also lightly sanded the upper edge of the inside of the hull. Next, I wrote the Hull Identification Number (HIN) with a Sharpie marker and put a thin layer of epoxy over the writing. Finally, I put a 2nd coat of epoxy over a 16 inch length of the hull where my feet would end up. I expect that until my boyfriend gets his own boat, he may borrow mine, so he'll appreciate the smooth surface under his heels. | ||
| total time so far: 54.25 hours | ||
| July 27: 2.5 hours Align deck and hull. Epoxy along the seams. | ||
| July 28: 2 hours, 25 min Remove tape and wire holding deck to hull. Scrape much of the sheer seams. Epoxy remaining gaps where the tape and wire had been. | ||
| July 29: 2? hours Scrape and round sheer seams. Scrape random drips on hull. Scrape other seams on deck. | ||
The Pygmy comes with a Hull Identification Number (HIN). That is, the company includes two sheets of paper that list the HIN, state that Pygmy must provide this number, and provide a list of Coast Guard specifications as to where the HIN is to be displayed. I've never noticed a HIN on a kayak. But I decided that a HIN would be a declaration that I built a real BOAT, that I did something beyond hacking together a project in my garage. So Seth and I cut out 1/2 inch tall letters out of balsa. | ||
I used 5 minute epoxy to make a border around the letters. The 5 minute epoxy is more viscous than the System Three general purpose epoxy otherwise used for the boat, so it makes a nice bump. I then placed the letters and filled the little moat with System Three epoxy. | 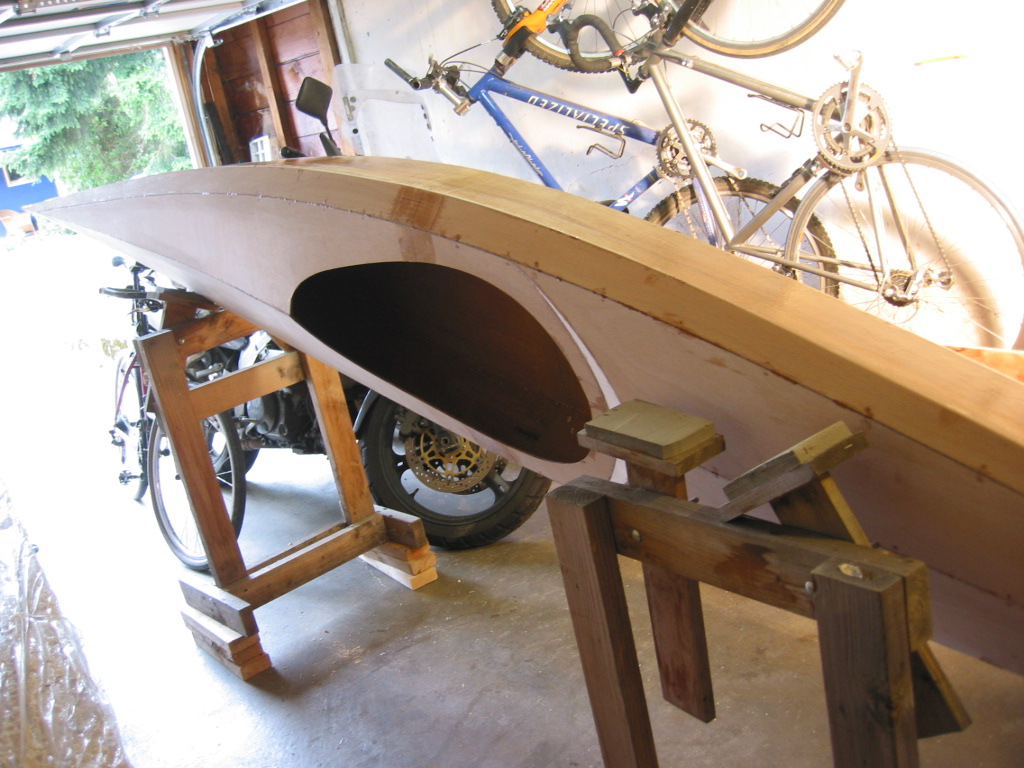
To make sure that the System Three epoxy would stay within my little moat, I had to prop up the boat so that the area around the HIN would be almost perfectly level. | 
The next day, I scraped and sanded the letters. I removed most of the 5 minute epoxy, smoothed the edges of the moat, and removed some of the balsa to make the letters thinner. |
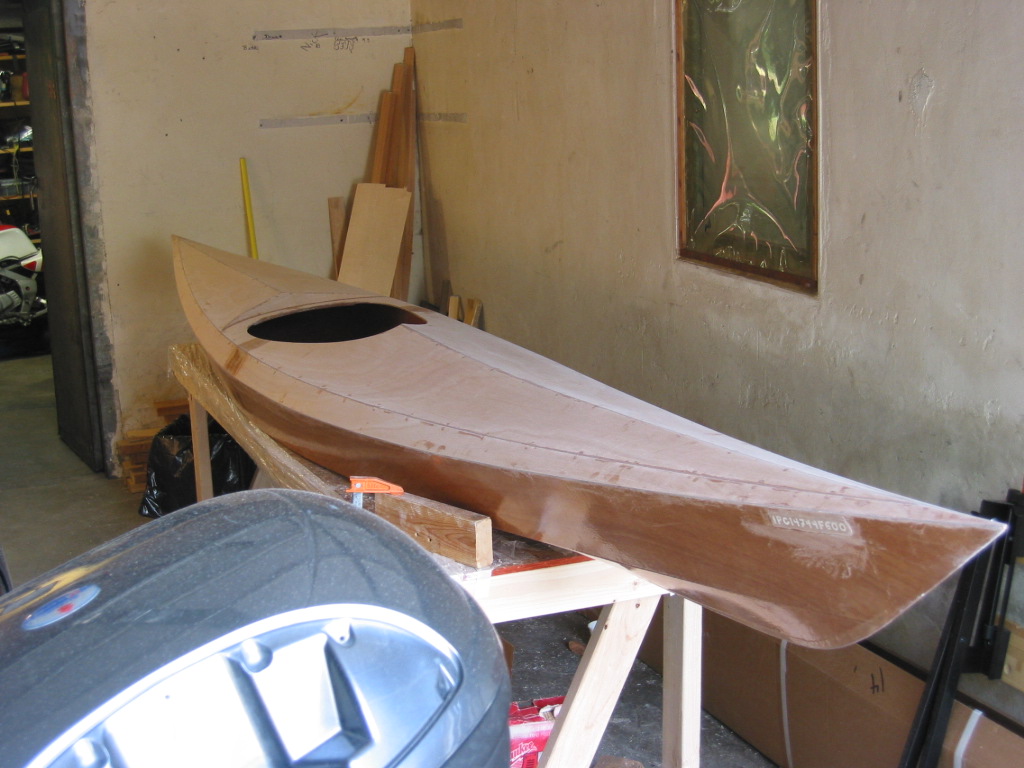
This is the boat with the HIN, prior to glassing the deck. Since the fiberglass for the deck overhangs the sheer seam by an inch, the HIN eventually ended up under a layer of fiberglass. Oops--the Coast Guard wants the HIN on the stern, and I erred and put it on the bow. | ||
| July 30: 3? hours Scrape and round sheer seams. Paint saturation coat of epoxy on deck. | ||
|
July 31: 1 hour
Scrape and round sheer seams, more, possibly a bit pedantic at
this point.
July 31: 2.5 hours Cut fiberglass for deck. Glass the deck. | ||
|
Aug 1: 25 min
Paint 1st cover coat of epoxy on deck.
Aug 1: 1 hour 15 min Start glassing remaining pieces: coaming, hatch lips. I'd tried two ways to do this. I tried making a sandwich of plastic, plywood, fiberglass, plastic, fiberglass, wood, plastic. I put a weight on top of the sandwich. I found that the plastic wrap wrinkled enough to make a spiderweb of bumps on the fiberglass. I also tried just placing the fiberglass atop the wood and letting gravity hold everything in place, similar to glassing the hull and deck, and got much nicer results. | ||
The glassed pieces. From left: two bulkheads, two hatch lips. coaming lips on top and bottom and two more hatch lips in middle. | ||
| total time so far: 69.33 hours | ||
|
Aug 2: 4? hours
Scrape lightly and re-epoxy the deck. I'd run out of sponge
brushes and so hadn't been able to remove the air bubbles from the
last coat of epoxy. I bought more sponge brushes this morning and
hope that scraping off the previous bubbles and adding one more
bubble-free coat helps.
Glue on bottom half of the coaming. Fiberglass more of the remaining pieces: upper coaming sections, hatch lips, bulkheads, hip brace. | ||

Glueing on the bottom part of the coaming. I should have clamped the bow end more. | 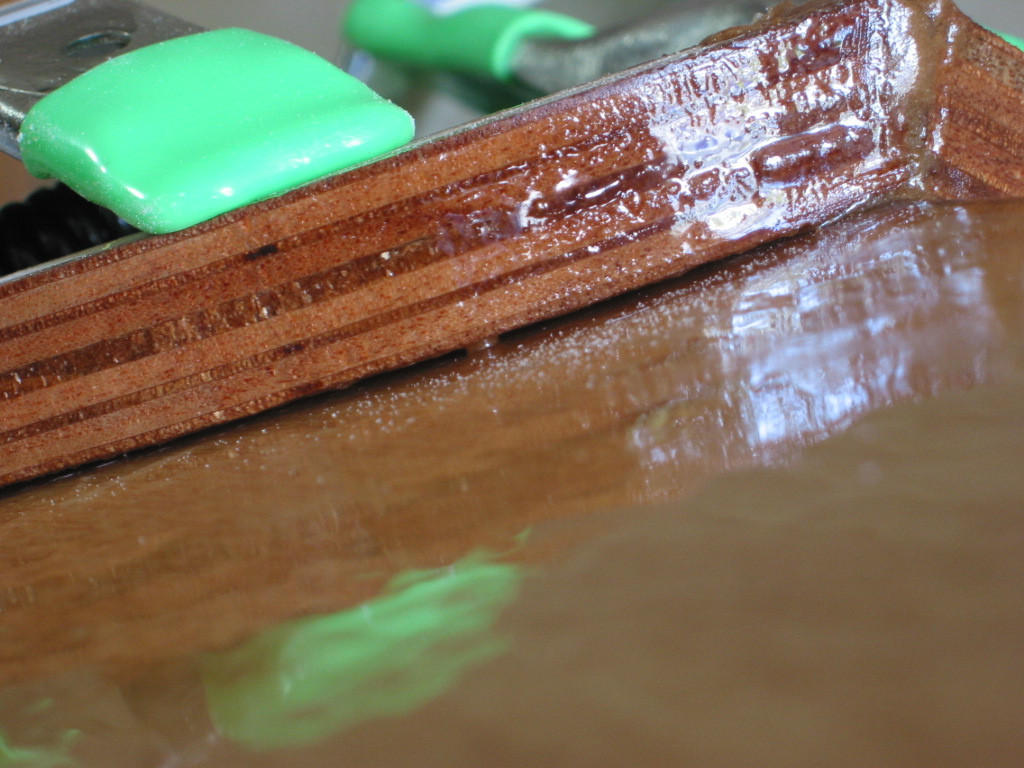
The front end of the coaming aligned with the deck perfectly on the inside of the cockpit, but was lifted just a millimeter on the outside. I didn't notice until the epoxy was set. I will add epoxy thickened with wood flour into the gap later. | 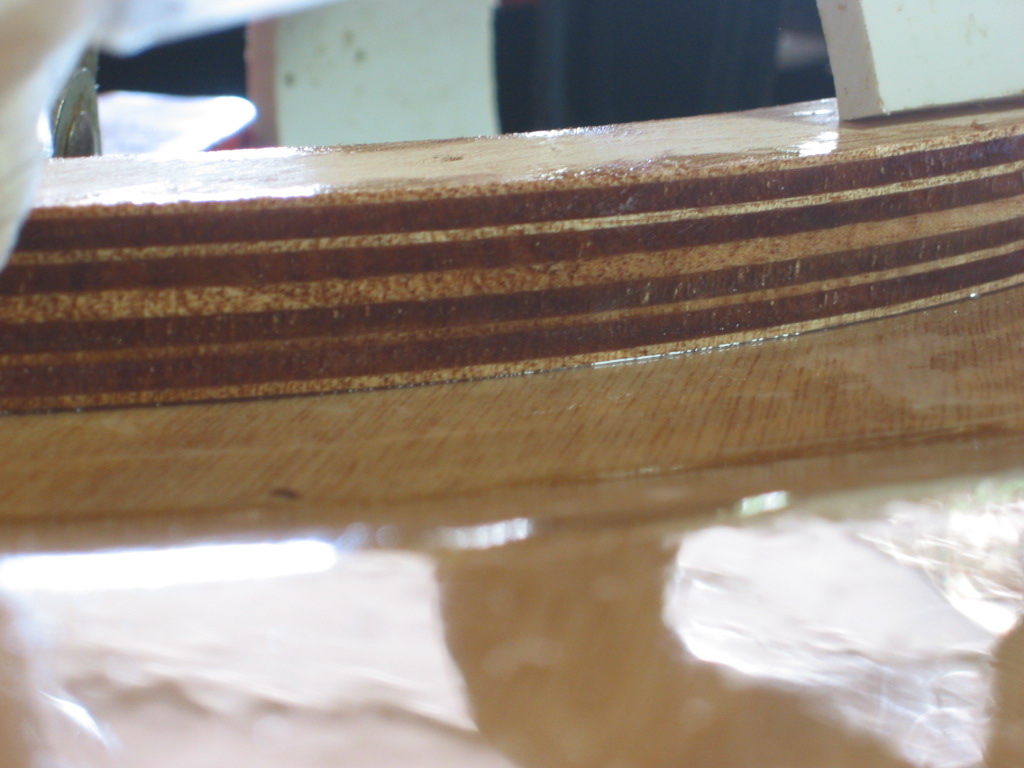
The back end of the coaming aligned perfectly with the deck. |
| Aug 2: 45? min Trim fiberglass tape from the small pieces. | ||
| Aug 3: 2 hours, 20 min Glue on upper part of coaming. Fiberglass the last of the small pieces. | ||

Coaming lip, with epoxy setting. | ||
| Aug 4: 3 hours, 10 min Cut out hatches. Fillet and tape starboard sheer seam. | ||
|
Aug 13: 4 hours, 20 min
Glue spacer for one hatch. Glass undersides of both hatch lids.
Trim, fillet, and tape stern bulkhead.
Trim hip braces. Sand the edges of the coaming (aesthetic), tape
seams on coaming lips, sand an accidental drip.
I ran out of fiberglass tape and had to stop. Hopefully, I can get more tomorrow at Fiberlay. | ||
|
Aug 14: 40 min
Epoxy, fillet, and tape hip braces.
Aug 14: 1 hour Attach bow hatch spacer. | ||
| total time so far: 85.58 hours | ||
| Aug 15: 2 hours, 10 min Sand and scrape around hatches to fix epoxy drips and bulges. Start on seat: attach foam to plastic backrest, attach plastic eye hook to back of seat, put in plastic eyehook under coaming (this turned out to be rather difficult, as all my screwdrivers were too long, so I had to screw the two wood screws by 1/6 turns with a screwdriver bit held by a crescent wrench). | ||
|
Aug 16: 1 hour
Trim and glue hatch lips on stern hatch. Touch up with epoxy plywood
edges that got exposed by sanding to round off sharp edges.
Aug 16: 25 min Measure locations of holes for foot braces, drill, and fill with epoxy. Aug 16: 1 hour Trim and glue hatch lips on bow hatch. | ||
| Aug 17: 2? hours Put in bow bulkhead. The bulkhead was a little too small, or my deck a little too rounded, so I ended up filling the gap with epoxy mixed with wood flour. I also glassed both sides of the gap. Hopefully, that'll be strong enough. | ||
Back to Ania's Home Page